How to install Jellyfin and Jellyseerr using Overlord
Sep 13, 2025 - ⧖ 12 min
After a hard day, you get home, turn on the TV, open Netflix, and watch a movie. However, you're an avarage IT nerd who needs to work a lot harder with your computer (right?), so you come to the conclusion that there's this amazing project called Jellyfin that lets you watch movies and TV shows (and even stream music!), but you realize you're not the only user consuming instance: your little brother asks you if you've added Star Trek yet. You add it, but the next day the same kid asks you to add the next popular movie XYZ, and the request is repeated over and over again... so you realize you need a service called Jellyseerr to fix this issue.
Jellyseerr is a free, open-source media request management tool designed primarily for users of Jellyfin, though it also supports Plex and Emby media servers. It acts as a user-friendly interface that simplifies the process of requesting, approving, and managing media content (movies, TV shows) for home media libraries.
Of course, to add some fun to our project, we need a tool called Overlord that allows us to deploy both Jellyfin and Jellyseerr on our cluster. Unfortunately, Jellyseerr has not yet been ported to FreeBSD and cannot be started, so how can we fix this? Overlord can deploy Linux VMs and use cloud-init to customize them, so let's do that.
jellyfin.yml:
kind : directorProject
datacenters :
main :
entrypoint : !ENV '${ENTRYPOINT}'
access_token : !ENV '${TOKEN}'
deployIn :
labels :
- desktop
projectName : jellyfin
projectFile : |
options:
- alias:
- ip4_inherit:
services:
jellyfin:
makejail: !ENV '${OVERLORD_METADATA}/jellyfin.makejail'
volumes:
- media: /media
- db: /var/db/jellyfin
volumes:
media:
device: /var/appjail-volumes/jellyfin/media
owner: 868
group: 868
db:
device: /var/appjail-volumes/jellyfin/db
owner: 868
group: 868jellyfin-metadata.yml:
kind : metadata
datacenters :
main :
entrypoint : !ENV '${ENTRYPOINT}'
access_token : !ENV '${TOKEN}'
deployIn :
labels :
- desktop
metadata :
jellyfin.makejail : |
OPTION start
OPTION overwrite=force
OPTION template=${OVERLORD_METADATA}/jellyfin.conf
OPTION device=include \$devfsrules_hide_all
OPTION device=include \$devfsrules_unhide_basic
OPTION device=include \$devfsrules_unhide_login
OPTION device=path 'dri' unhide
OPTION device=path 'dri/*' unhide
OPTION device=path 'drm' unhide
OPTION device=path 'drm/*' unhide
OPTION device=path 'pci' unhide
INCLUDE gh+DtxdF/efficient-makejail
PKG jellyfin
SERVICE jellyfin oneenable
SERVICE jellyfin start
jellyfin.conf : |
exec.start: "/bin/sh /etc/rc"
exec.stop: "/bin/sh /etc/rc.shutdown jail"
mount.devfs
allow.mlock
persist
allow.raw_socketsjellyseerr.yml:
kind : vmJail
datacenters :
main :
entrypoint : !ENV '${ENTRYPOINT}'
access_token : !ENV '${TOKEN}'
deployIn :
labels :
- desktop
vmName : 'jellyseerr'
makejail : 'gh+DtxdF/vm-makejail'
overwrite : true
datastore : '/var/appjail-vm/jellyseerr/data'
options :
- fstab : '/var/appjail-vm/jellyseerr/data vm-data <volumefs>'
- fstab : '"/var/os-images/uploads" /vm/.img nullfs ro'
- pkg : grub2-bhyve
- pkg : qemu-tools
template :
loader : 'grub'
cpu : '1'
memory : '512M'
network0_type : 'virtio-net'
network0_switch : 'public'
wired_memory : 'YES'
grub_run_partition : '1'
grub_run_dir : '/boot/grub'
uuid : !ENV '${JELLYSEERR_UUID}'
diskLayout :
driver : 'ahci-hd'
size : '40G'
from :
type : 'img'
imgFile : 'debian-13-genericcloud-amd64.qcow2'
cloud-init :
meta-data :
instance-id : !ENV '${JELLYSEERR_UUID}'
local-hostname : jellyseerr.lan
network-config :
version : 2
ethernets :
id0 :
match :
name : 'enp0s5'
addresses :
- 192.168.8.2/24
routes :
- to : default
via : 192.168.8.1
nameservers :
search : []
addresses : [ 172.0.0.1 ]
user-data :
resize_rootfs : True
manage_etc_hosts : localhost
user :
name : user
homedir : '/user'
ssh_authorized_keys :
- !ENV '${SSH_KEY}'
sudo : 'ALL=(ALL) NOPASSWD:ALL'
package_update : True
package_upgrade : True
packages :
- podman
write_files :
- path : /tmp/jellyseerr.container
content : |
[Unit]
Description=Jellyseerr Container
[Container]
Image=docker.io/fallenbagel/jellyseerr:latest
ContainerName=jellyseerr
PublishPort=5055:5055
Environment=TZ=America/Caracas
Volume=/jellyseerr:/app/config
[Service]
Restart=always
TimeoutStartSec=1800
[Install]
WantedBy=multi-user.target default.target
runcmd :
- [ 'sh' , '-c' , 'curl -fsSL https://tailscale.com/install.sh | sh' ]
- [ 'tailscale' , 'up' , !ENV '--auth-key=${TS_AUTH_KEY}' ]
- [ 'mkdir' , '-p' , '/jellyseerr' ]
- [ 'mv' , '/tmp/jellyseerr.container' , '/etc/containers/systemd' ]
- [ 'systemctl' , 'daemon-reload' ]
- [ 'systemctl' , 'start' , 'jellyseerr' ] Key points:
- Remember that Overlord modifies its environment through the
.envfile, so create that file and fill it with the environment variables that appear in the deployment files (those that start with!ENV). - Change everything that doesn't make sense in your environment.
Now we just have to apply all the changes:
$ overlord apply -f jellyfin-metadata.yml
$ overlord apply -f jellyfin.yml
$ overlord apply -f jellyseerr.yml
After a while, the projects and virtual machines are created.
$ overlord get-info -f jellyfin.yml -t projects --filter-per-project
datacenter: http://controller.namespace.lan:8888
  entrypoint: main
  chain: None
  labels:
    - all
    - desktop
    - services
    - vm-only
    - dc-air
  projects:
    jellyfin:
      state: DONE
      last_log: 2025-09-13_16h24m46s
      locked: False
      services:
        - {'name': 'jellyfin', 'status': 0, 'jail': 'e2cd49bdeb'}
      up:
        operation: COMPLETED
        output:
         rc: 0
         stdout: {'errlevel': 0, 'message': None, 'failed': []}
        last_update: 3 minutes and 30.1 seconds
        job_id: 35
        restarted: False
        labels:
         error: False
         message: None
$ overlord get-info -f jellyseerr.yml -t projects --filter-per-project
datacenter: http://controller.namespace.lan:8888
  entrypoint: main
  chain: None
  labels:
    - all
    - desktop
    - services
    - vm-only
    - dc-air
  projects:
    jellyseerr:
      state: DONE
      last_log: 2025-09-13_17h08m23s
      locked: False
      services:
        - {'name': 'vm', 'status': 0, 'jail': 'jellyseerr'}
      up:
        operation: COMPLETED
        output:
         rc: 0
         stdout: {'errlevel': 0, 'message': None, 'failed': []}
        last_update: 4 minutes and 37.51 seconds
        job_id: 39
        restarted: False
$ overlord get-info -f jellyseerr.yml -t vm --filter-per-project
datacenter: http://controller.namespace.lan:8888
  entrypoint: main
  chain: None
  labels:
    - all
    - desktop
    - services
    - vm-only
    - dc-air
  projects:
    jellyseerr:
      virtual-machines:
          operation: COMPLETED
          output: |
            vm_list:  -> jellyseerr
             Starting jellyseerr
               * found guest in /vm/jellyseerr
               * booting...
          last_update: 3 minutes and 31.56 seconds
          job_id: 39
Keep in mind that, at least for Jellyseerr, the above result does not mean that your service is up and running. There are many things to do first: pull the container image, create the container, etc. Fortunately, this is automated.
Of course, but we need to see the status somewhere. We can log in through the jail, to log in through the virtual machine (and through SSH if we are using a machine that is not ours), however, that is why we use tailscale in the deployment file.
If you have configured your Tailscale auth key to require approval, log in to https://login.tailscale.com and approve your device. In my case, I prefer to use security/tscli to approve the virtual machine:
$ tscli set device authorization --device XYZ --approve=true
result: device XYZ is now approved
And finally, log in to the virtual machine.
$ tailscale status | grep jellyseerr
100.74.80.114   jellyseerr           REDACTED@    linux   -
$ ssh user@100.74.80.114
The authenticity of host '100.74.80.114 (100.74.80.114)' can't be established.
ED25519 key fingerprint is SHA256:L7Ft7UnFa8waQCZbiT7OZ4vJ8tCLV9CwAOe4xW4HJZM.
This key is not known by any other names.
Are you sure you want to continue connecting (yes/no/[fingerprint])? yes
Warning: Permanently added '100.74.80.114' (ED25519) to the list of known hosts.
Linux jellyseerr 6.12.38+deb13-cloud-amd64 #1 SMP PREEMPT_DYNAMIC Debian 6.12.38-1 (2025-07-16) x86_64

The programs included with the Debian GNU/Linux system are free software;
the exact distribution terms for each program are described in the
individual files in /usr/share/doc/*/copyright.

Debian GNU/Linux comes with ABSOLUTELY NO WARRANTY, to the extent
permitted by applicable law.
user@jellyseerr:~$ sudo podman ps
CONTAINER ID  IMAGE       COMMAND     CREATED     STATUS      PORTS       NAMES
user@jellyseerr:~$ sudo env PAGER=cat systemctl status jellyseerr
● jellyseerr.service - Jellyseerr Container
     Loaded: loaded (/etc/containers/systemd/jellyseerr.container; generated)
     Active: activating (start) since Sat 2025-09-13 21:21:38 UTC; 6min ago
        Job: 766
 Invocation: f9b03e803352462c901ef141f62ed9be
   Main PID: 10465 (podman)
      Tasks: 8 (limit: 527)
     Memory: 186.3M (peak: 230.1M)
        CPU: 37.476s
     CGroup: /system.slice/jellyseerr.service
             └─10465 /usr/bin/podman run --name jellyseerr --cidfile=/run/jellyseerr.cid --replace --rm --cgroups=split --sdnotify=conmon -d -v /jellyseerr:/a…

Sep 13 21:21:38 jellyseerr jellyseerr[10465]: Pulling image //fallenbagel/jellyseerr:latest inside systemd: setting pull timeout to 5m0s
Sep 13 21:21:45 jellyseerr jellyseerr[10465]: Getting image source signatures
Sep 13 21:21:45 jellyseerr jellyseerr[10465]: Copying blob sha256:941e14c08a43b57bdc45488022cbae2c562179052c69a19c2d67e657fe96af11
Sep 13 21:21:45 jellyseerr jellyseerr[10465]: Copying blob sha256:9824c27679d3b27c5e1cb00a73adb6f4f8d556994111c12db3c5d61a0c843df8
Sep 13 21:21:45 jellyseerr jellyseerr[10465]: Copying blob sha256:3cdbfff583b099a5f687dbae4970360a1829bc85ae0b0fdcd811f2108864d8e4
Sep 13 21:21:45 jellyseerr jellyseerr[10465]: Copying blob sha256:2d381af09514b1801b65ecb2885e6a6fbe41da5a4b6d708f9ff811f21cb9b328
Sep 13 21:21:45 jellyseerr jellyseerr[10465]: Copying blob sha256:e62ad5808fa82ae91d738bb6d1339d62a8d4b7e908d071ee1287c08c3000cdd4
Sep 13 21:21:45 jellyseerr jellyseerr[10465]: Copying blob sha256:ae7ee35e84a430756c746816cc32c72fb890069a38d3970eb62705d0398e44dc
Sep 13 21:21:46 jellyseerr jellyseerr[10465]: Copying blob sha256:d265610f608e967fa6abac979040c607fe3a97948e1de65702f8fa165b4be2d8
Sep 13 21:21:47 jellyseerr jellyseerr[10465]: Copying blob sha256:62c1ac9ec34dbd150b9a6cf06711993fd8a99dce9965f33358e44fcfa6406b74
Be patient. Our container isn't alive yet.
$ sudo podman ps
CONTAINER ID  IMAGE                                    COMMAND     CREATED        STATUS        PORTS                   NAMES
ef30fa8f895a  docker.io/fallenbagel/jellyseerr:latest  pnpm start  4 seconds ago  Up 4 seconds  0.0.0.0:5055->5055/tcp  jellyseerr
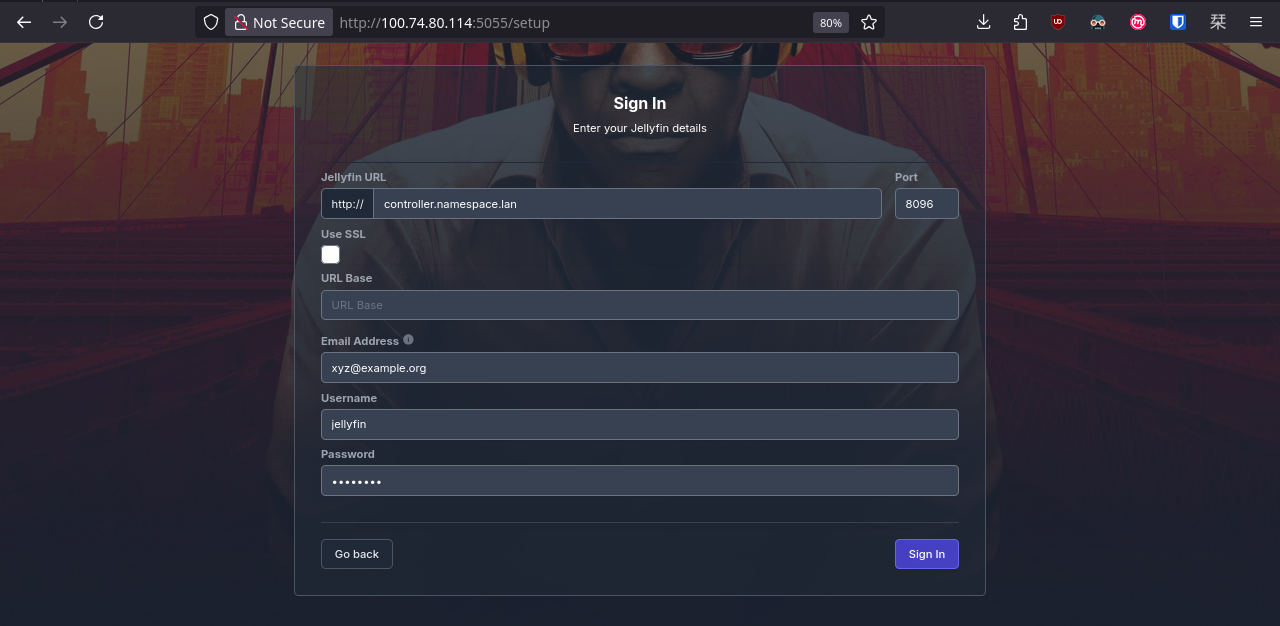
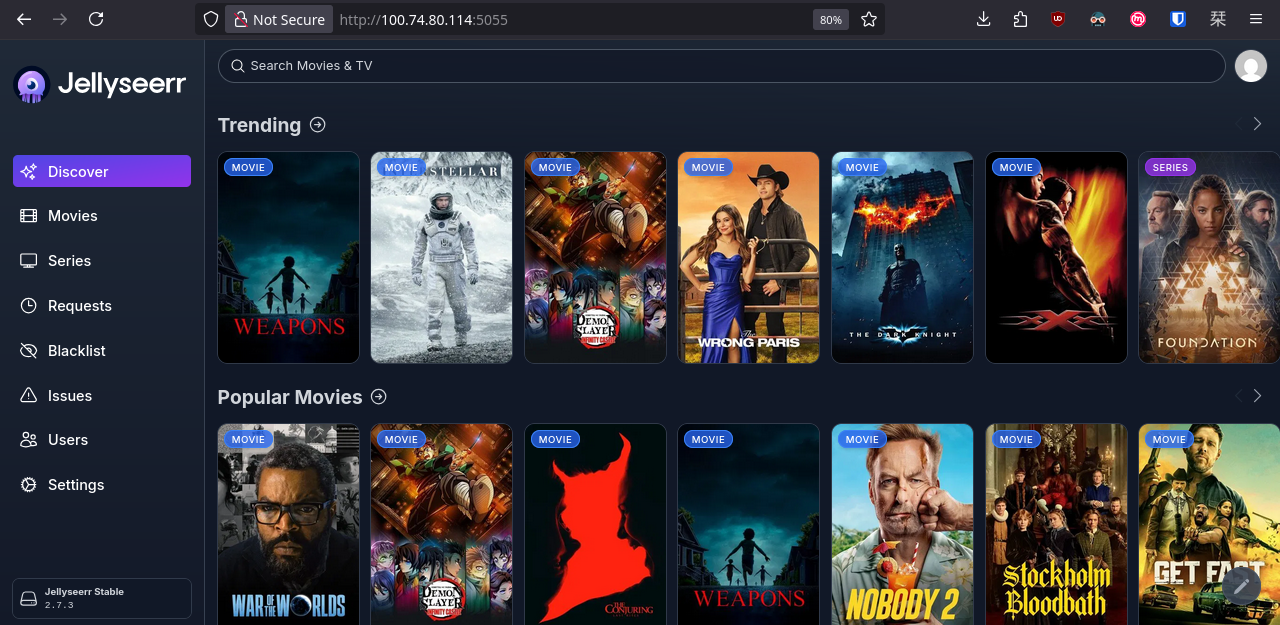
Congratulations!
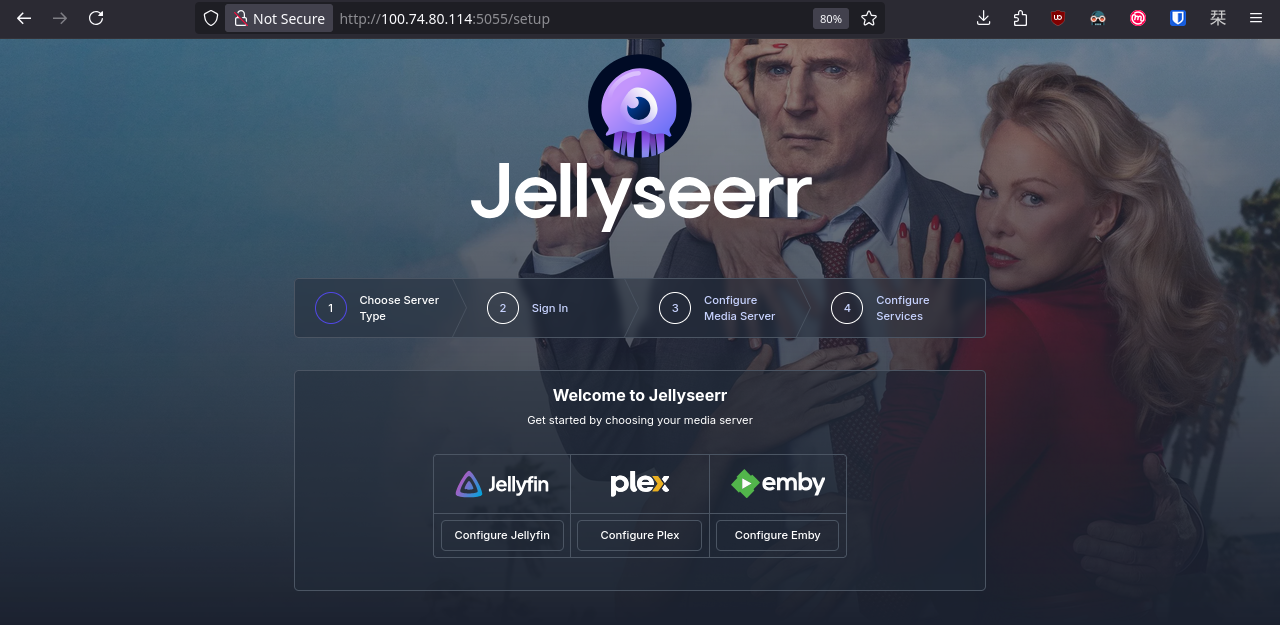
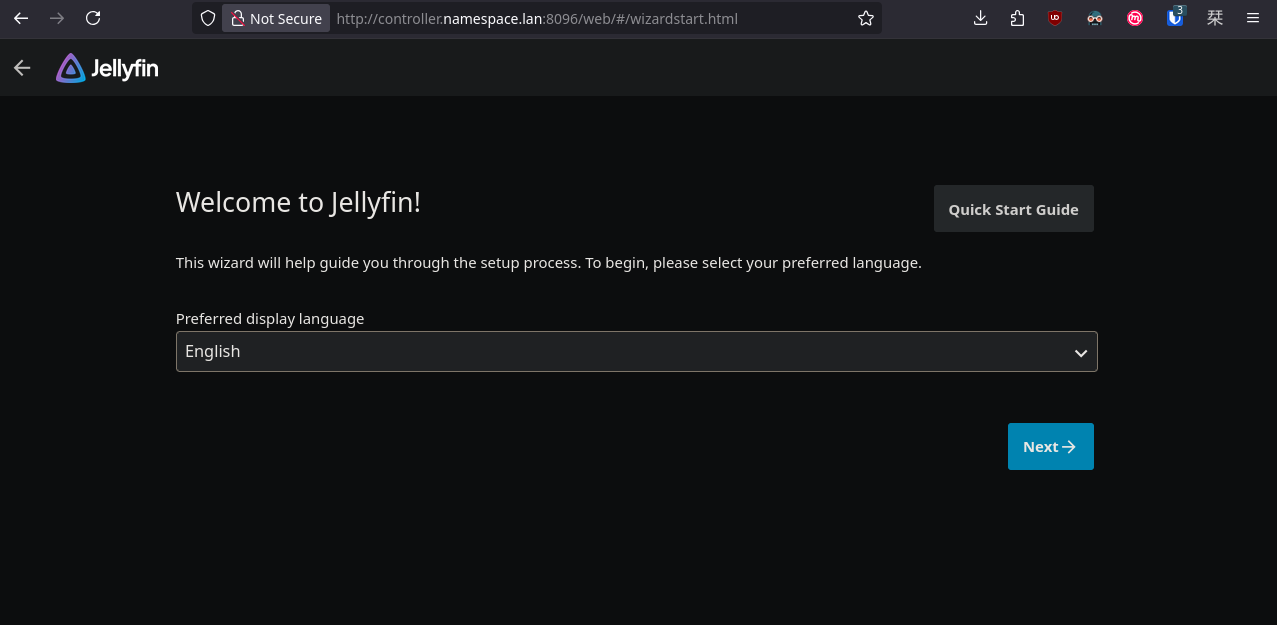
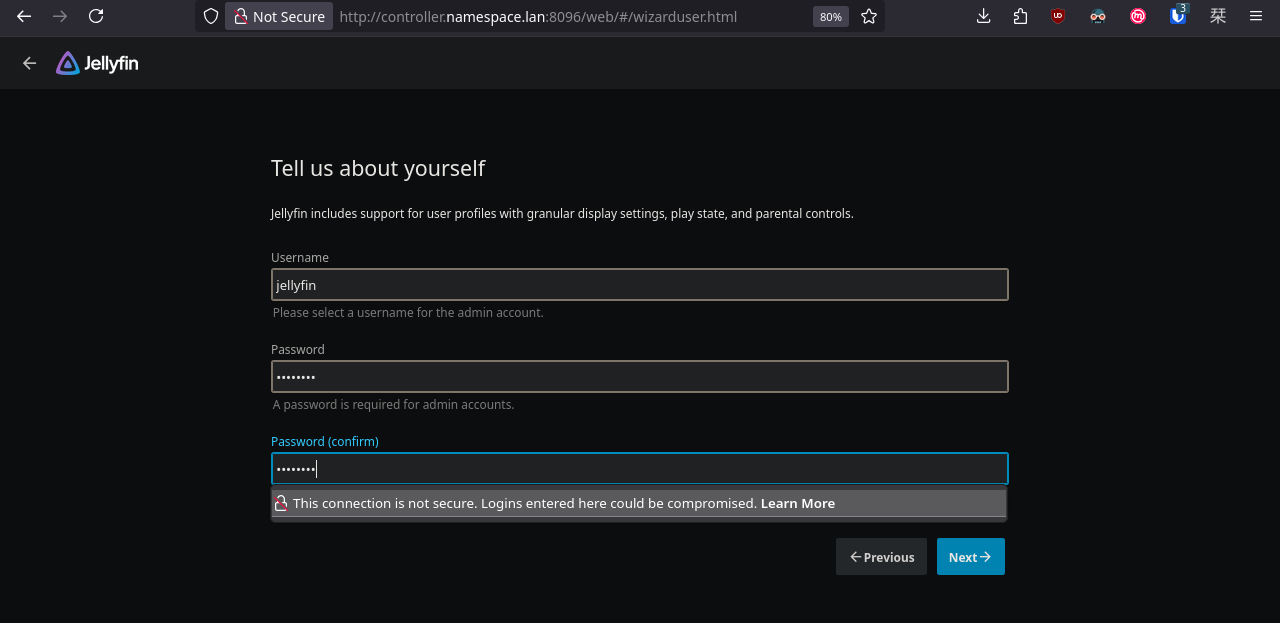
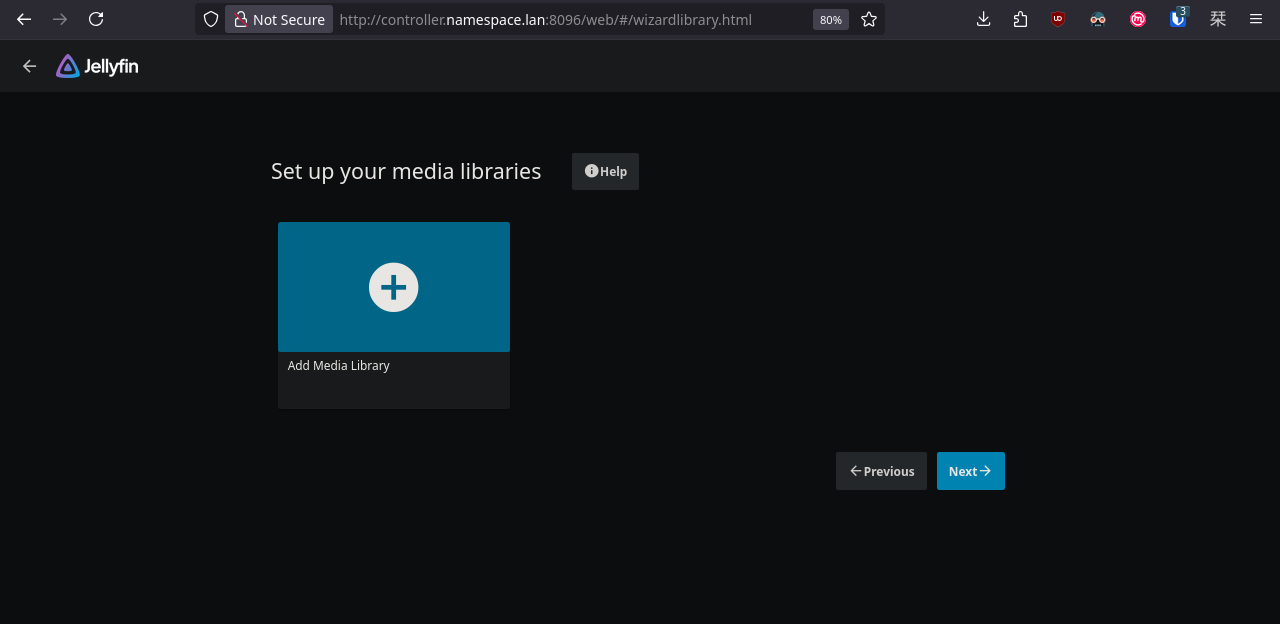
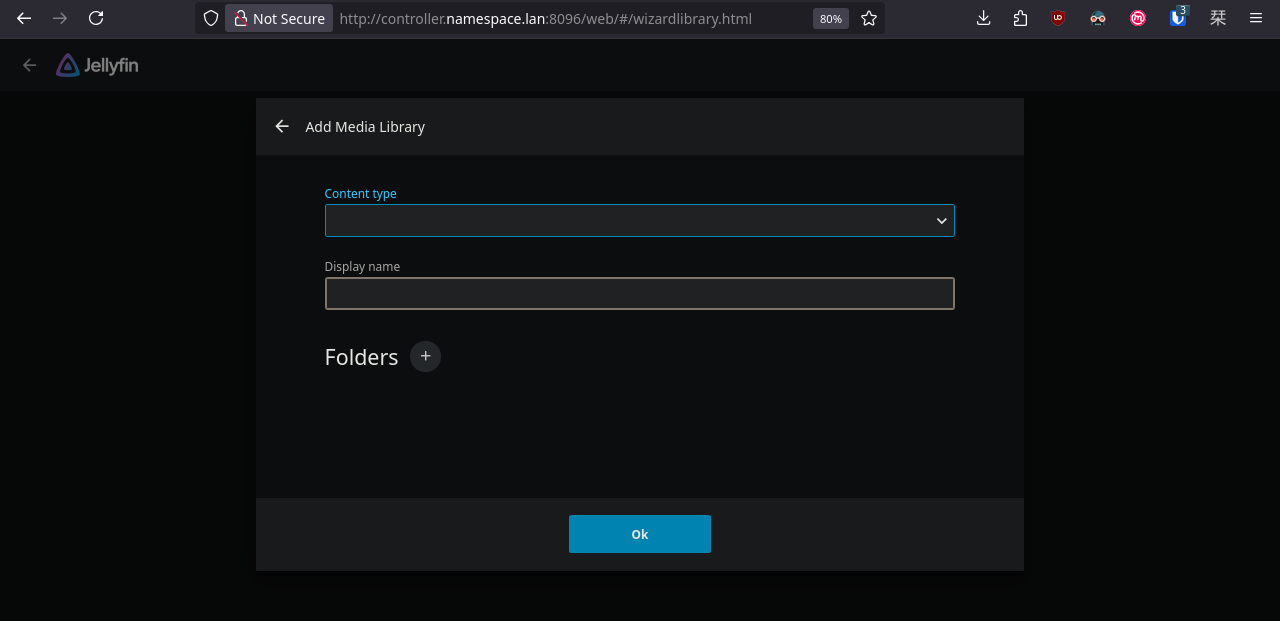
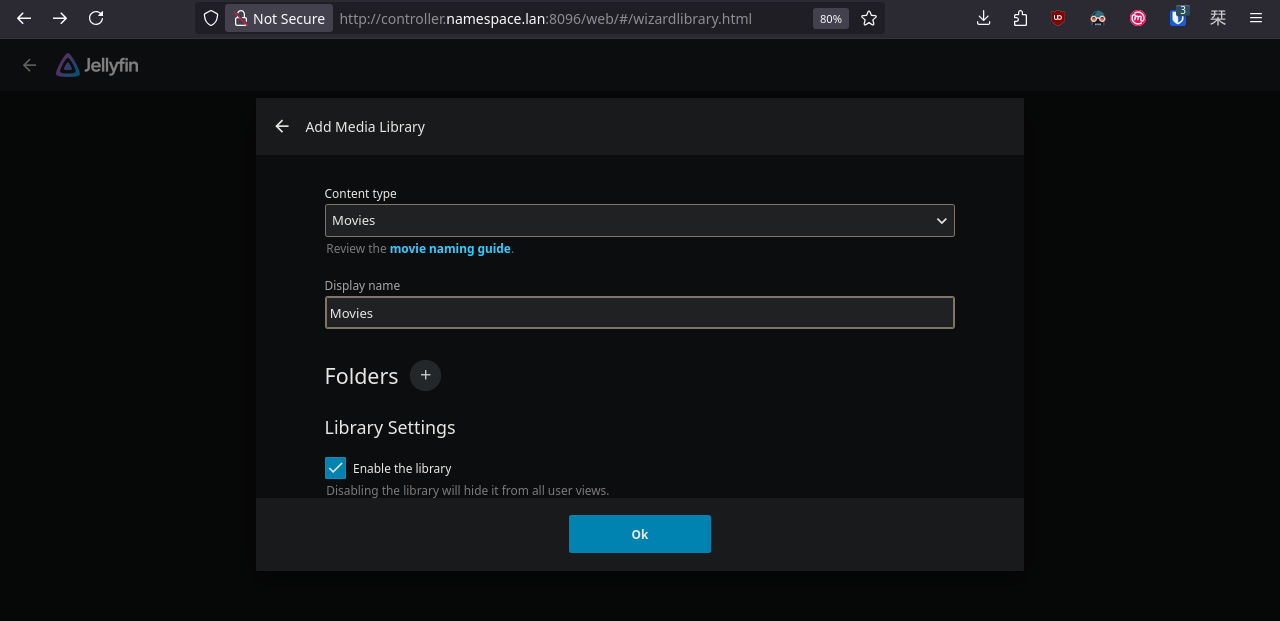
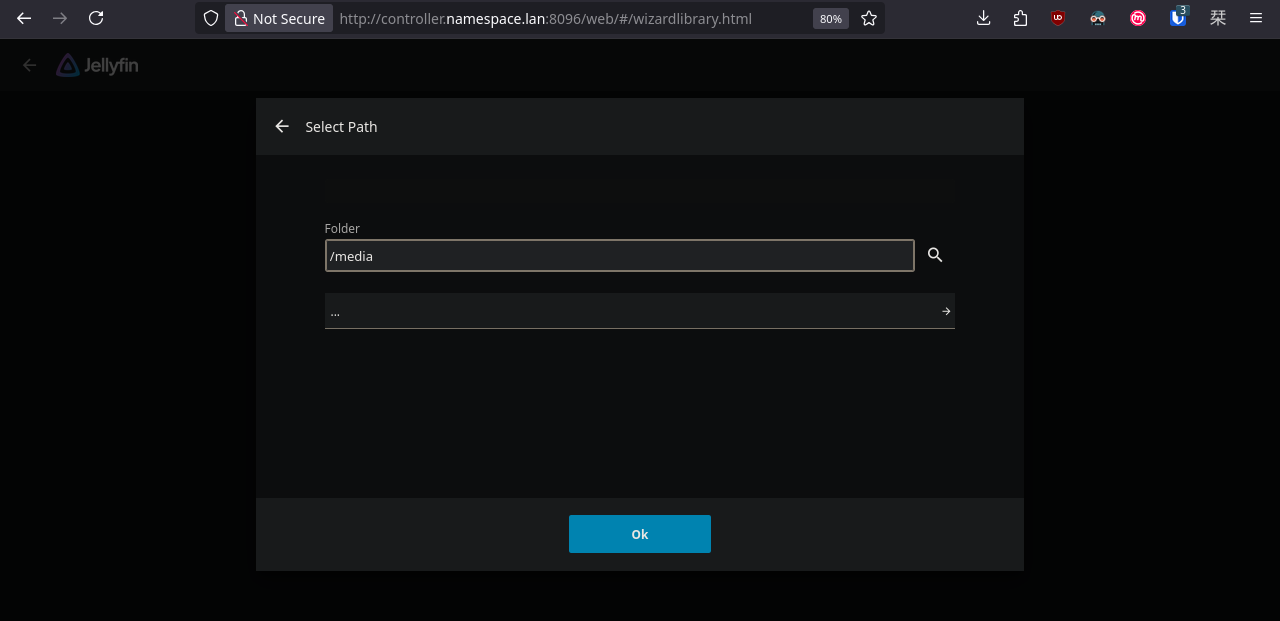
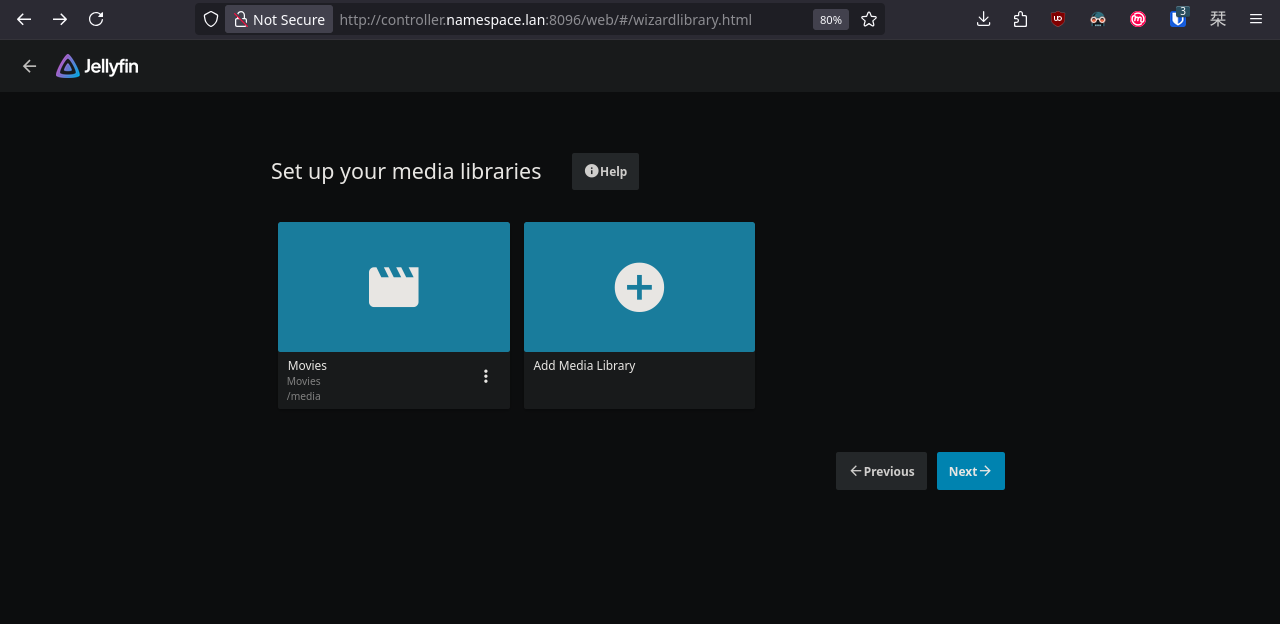
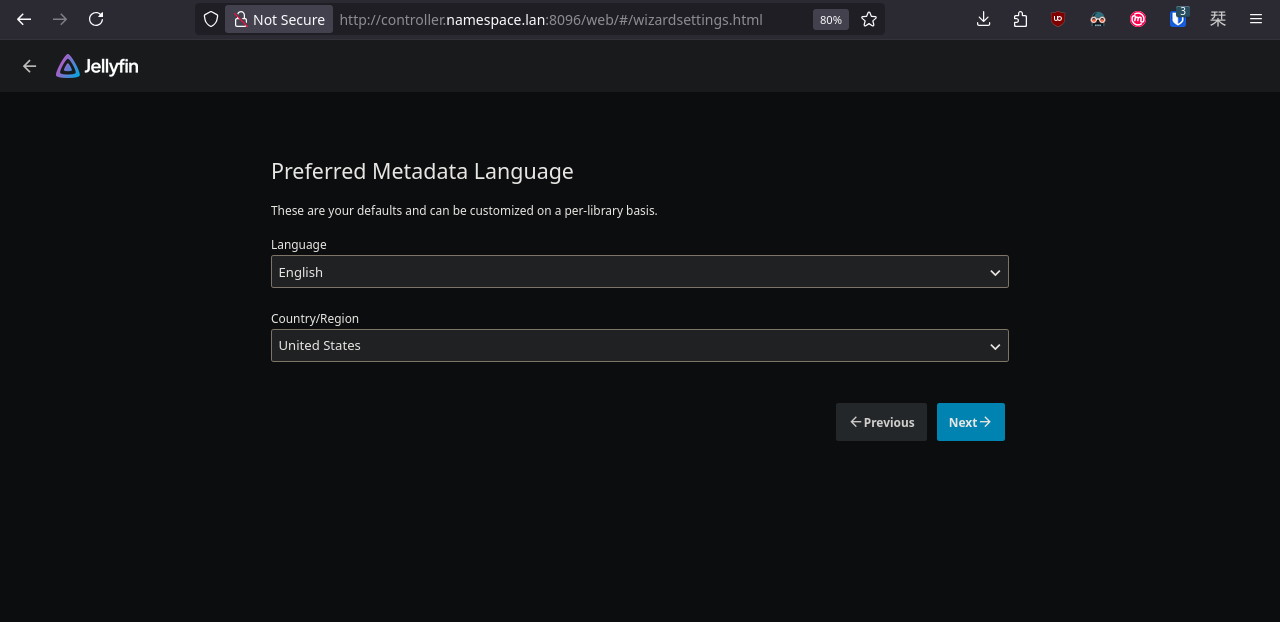
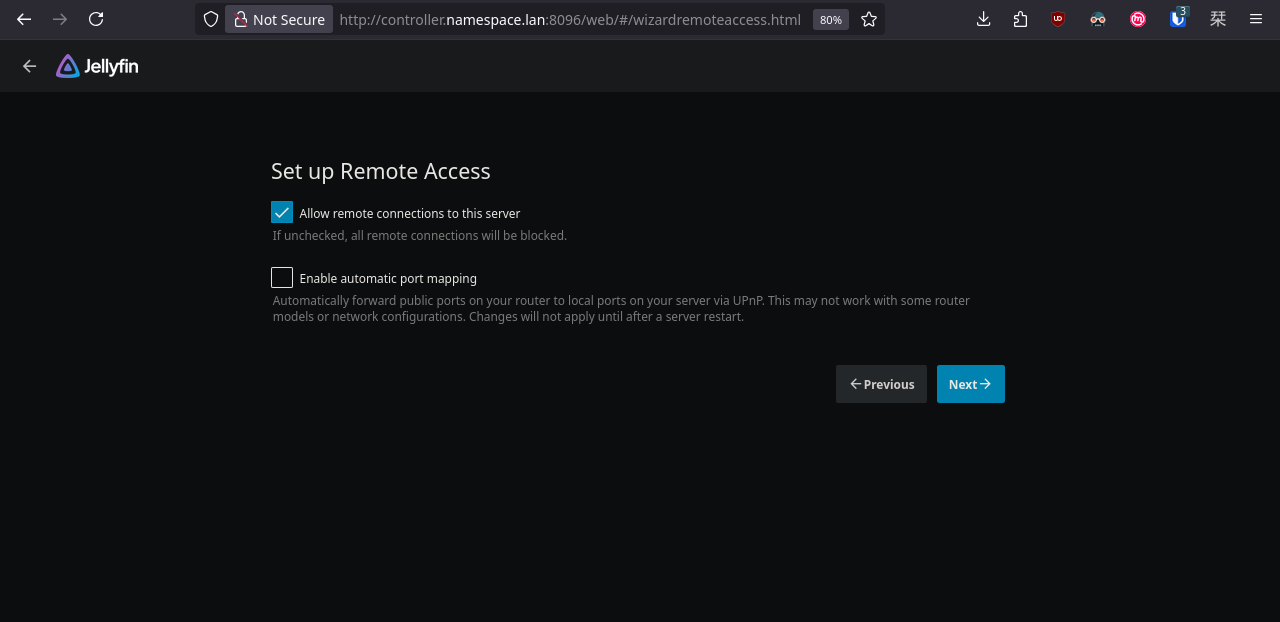
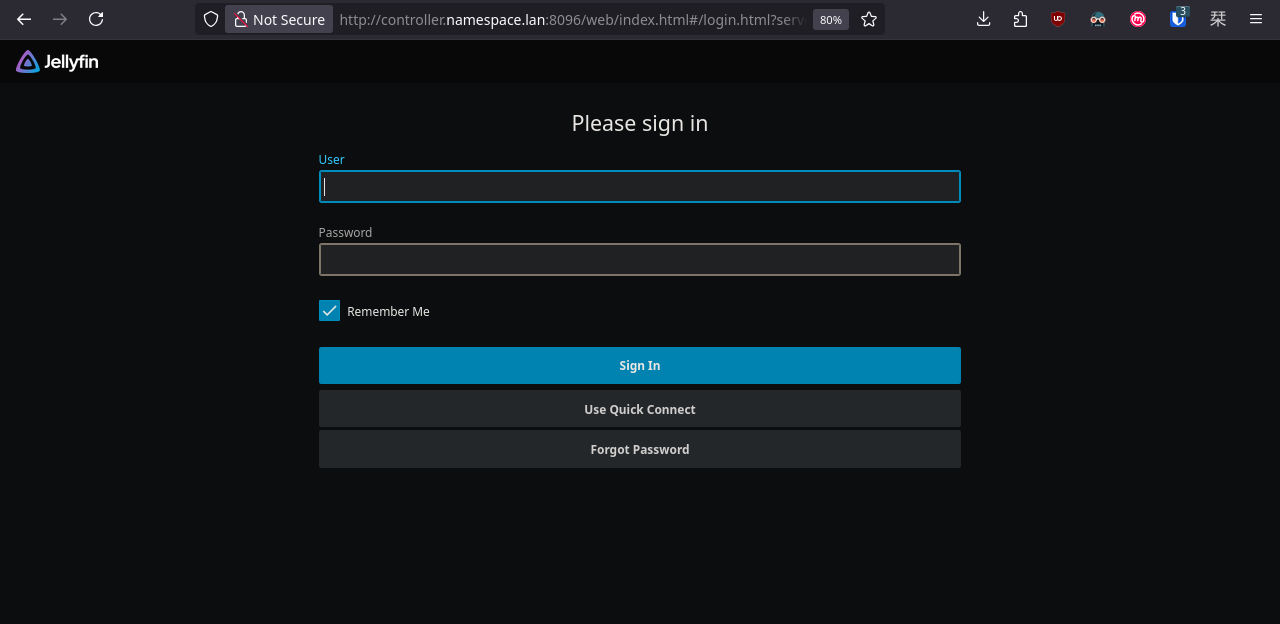
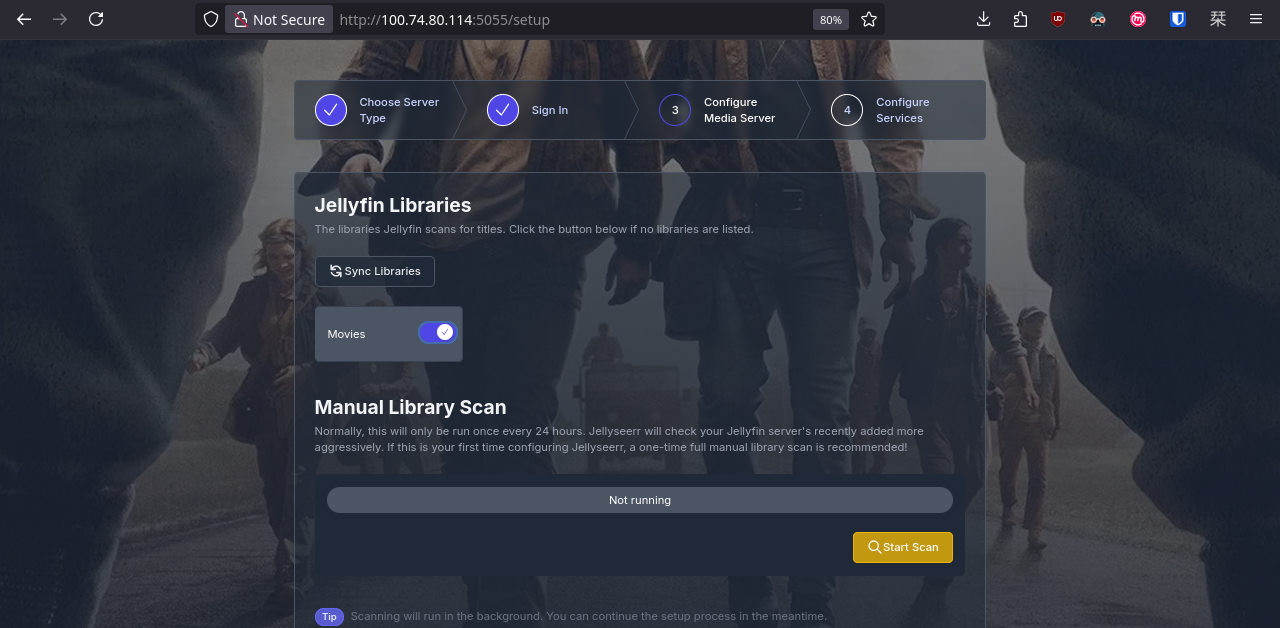
We can access Jellyseerr through our web browser, however, we first need to configure Jellyfin.
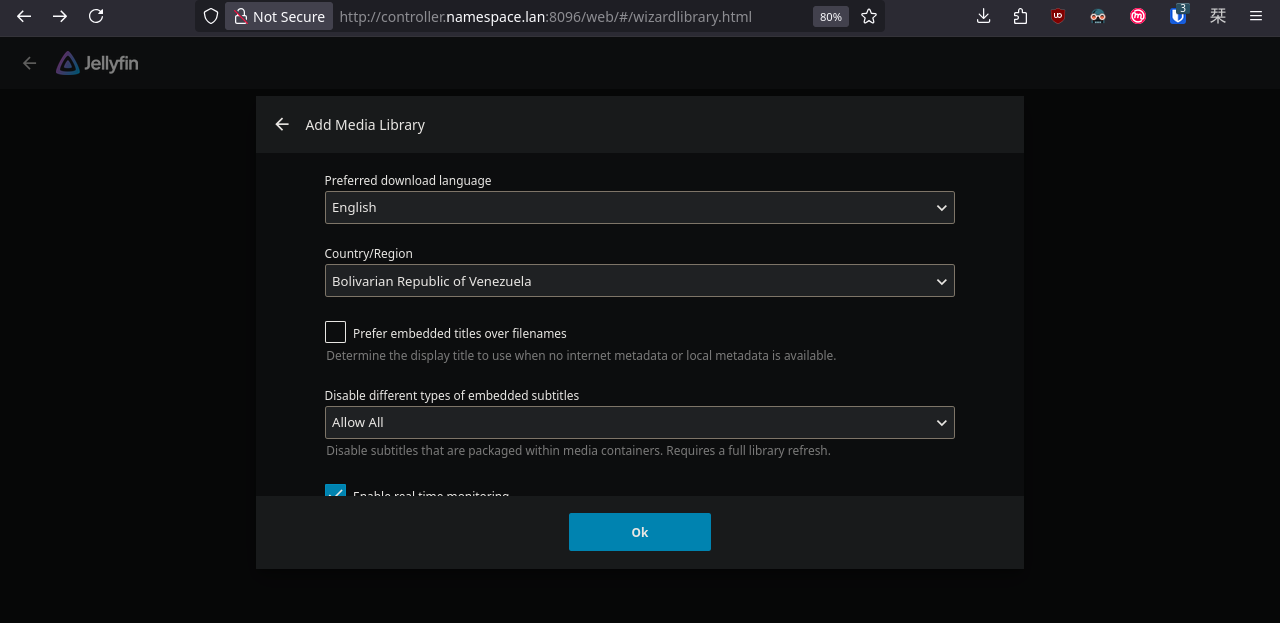
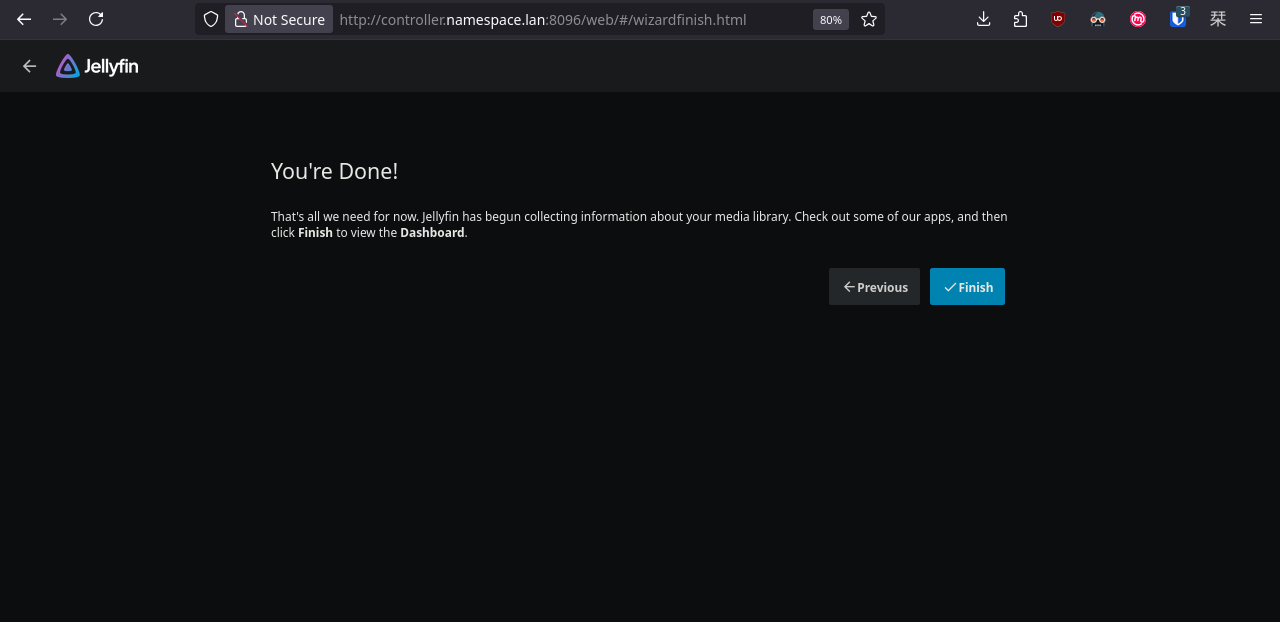
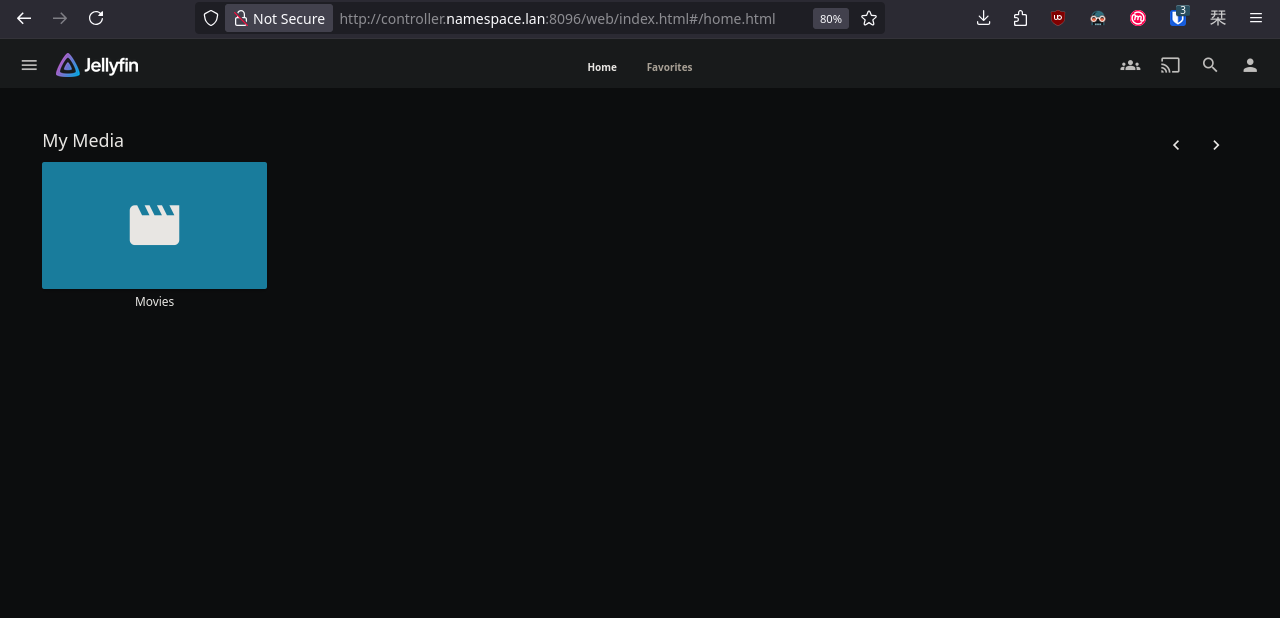
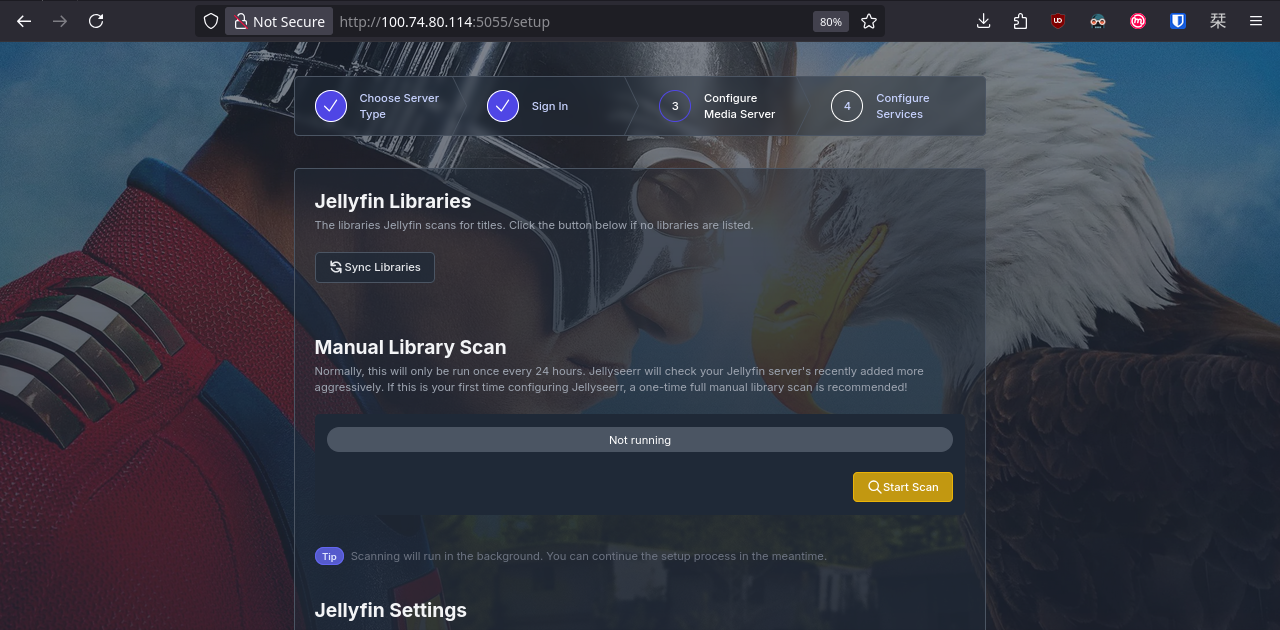
Done. Now let's go back to Jellyseerr and configure the rest.
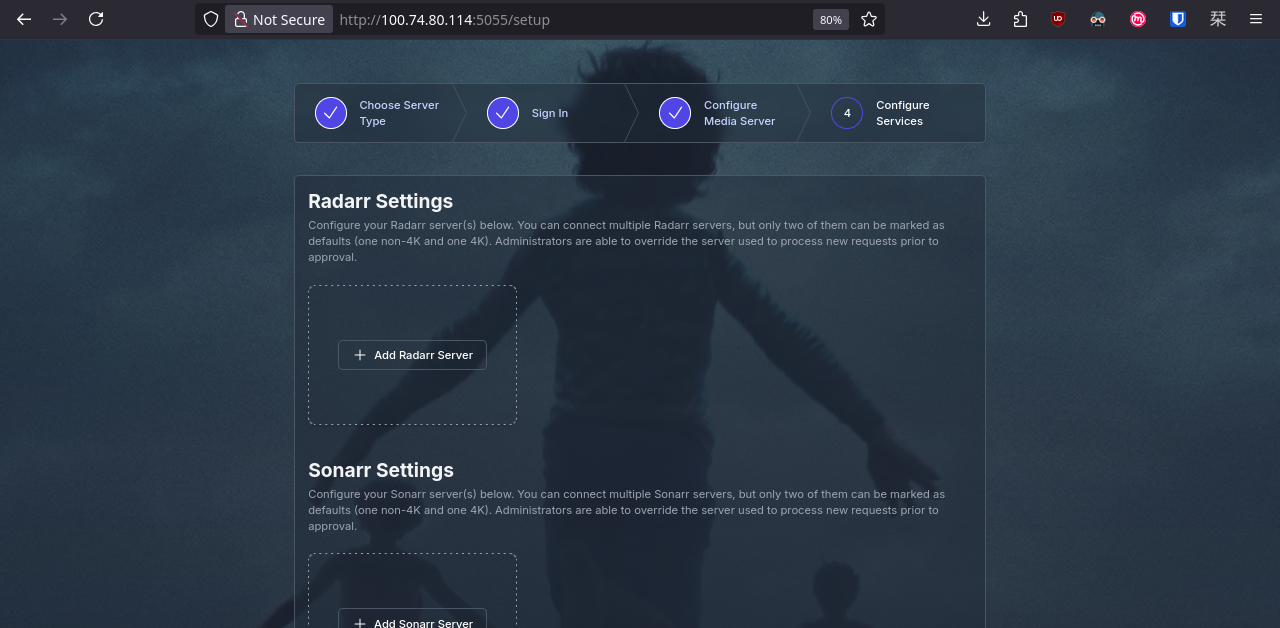
Easy! We just need to define YAML here and there, apply the changes, and our family will be happy watching movies and series!
If you would like to support the project, please consider donating.